Gardening Series – Seed Starting 101
Growing Healthy Food in Your Yard!
Watching a plant grow is one of life’s little pleasures. Whether you’re a seasoned gardener or a beginner looking to get some dirt under your nails, here is a step-by-step guide on growing healthy seedlings in your own home.

Gather Everything You Need
Surprise! You probably have everything you need to start growing from seed right from your recycling, veggie drawer, or shed. Check our previous blog to find out what zone you’re in.

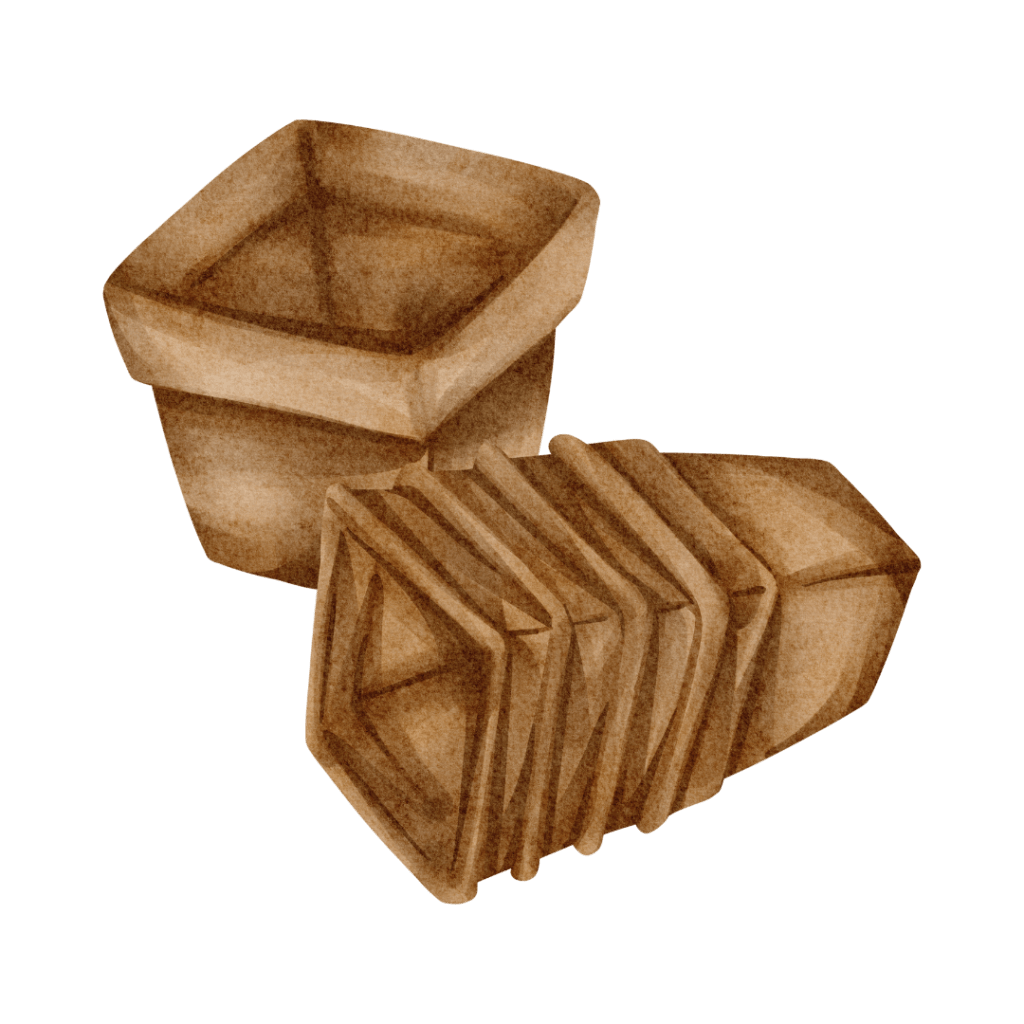
Seed starting trays or pots.
- Choose containers with drainage holes to prevent waterlogging
- Egg cartons: cut apart individual egg cups and use them as small planting containers. They already have drainage holes and can easily be composted after you use or plant them with your seedlings.
- Yogurt cups or other small containers: Be sure to poke holes in the bottom and sides for drainage.

Seed starting mix
- Opt for a sterile, lightweight mix specifically formulated for seed germination.
- DIY Seed Starting Mix: Make your mix using equal parts of vermiculite, perlite, and peat moss. This lightweight mixture is suitable for seed germination.
- Soil from your compost pile: Dig into your compost and use that gorgeous, nutrient-rich mix to start your seeds.
- Potting soil: If you have potting soil on hand, it makes a great base; just be sure it is well-draining and lightweight.

Seeds
- Select high-quality seeds suited to your Zone and growing conditions
- Saved seeds: If you’ve saved seeds from previous seasons or harvested them from fruits and veggies, these can be used for seed starting.
- Seed swaps: Participate in seed swaps with friends, neighbors, or local gardening groups.
- Grow from food waste: Force roots on various food from the grocery store. Just leave the roots intact and place them in a small glass of water, changing frequently until you see roots! Then, it is ready to plant.

Prepare Your Containers
Fill your seed-starting trays, pots, egg cartons, or small containers with the seed-starting mix. Leave a small gap at the top for watering, and lightly push down the soil to remove any air pockets. This will create a level surface for planting your seeds.

Plant Your Seeds
Follow the planting instructions on the seed packet for planting depth and spacing. Use a pencil or pen to create small holes in the soil, then place one or two seeds in each hole. Cover the seeds lightly with soil and gently press down to ensure good soil-to-seed contact.

Water Carefully
Using a repurposed spray bottle or a light water stream, gently mist water onto the soil until it’s evenly moist but not waterlogged. Avoid saturating the soil, as excessive moisture can lead to mold and other fungal diseases. Keep the soil consistently moist throughout the germination period.

Provide Light
Place your seed trays or pots in south-facing windowsills or under a grow light (LED or fluorescent lights work, too!) for 12-16 hours daily. Be sure to rotate seed trays regularly to ensure even exposure to light. Seedlings need ample light to grow strong and healthy and receive sufficient light exposure to prevent leggy growth.

Monitor and Maintain
Check your seedlings regularly for signs of growth and adjust watering and lighting as needed. You can start singing to your plants for extra growth at this stage. Keep the soil evenly moist and provide adequate airflow around the seedlings to prevent mold and disease. Thin out overcrowded seedlings to ensure proper spacing and airflow.

Transplanting
Once your seedlings have developed their first set of true leaves and the danger of frost has passed, it’s time to transplant them into larger containers or outdoors. In our next post, we’ll discuss transplanting your new seedlings.
Remember, by creatively repurposing items you already own, you can reduce costs and minimize waste while still achieving successful seed-starting results.